
After a couple of trial and false, I am now got a hand on this device. My last shot of espresso took less than 10 minutes to make. It might take just 5 minutes if you already have ground coffee ready.
Equipment:
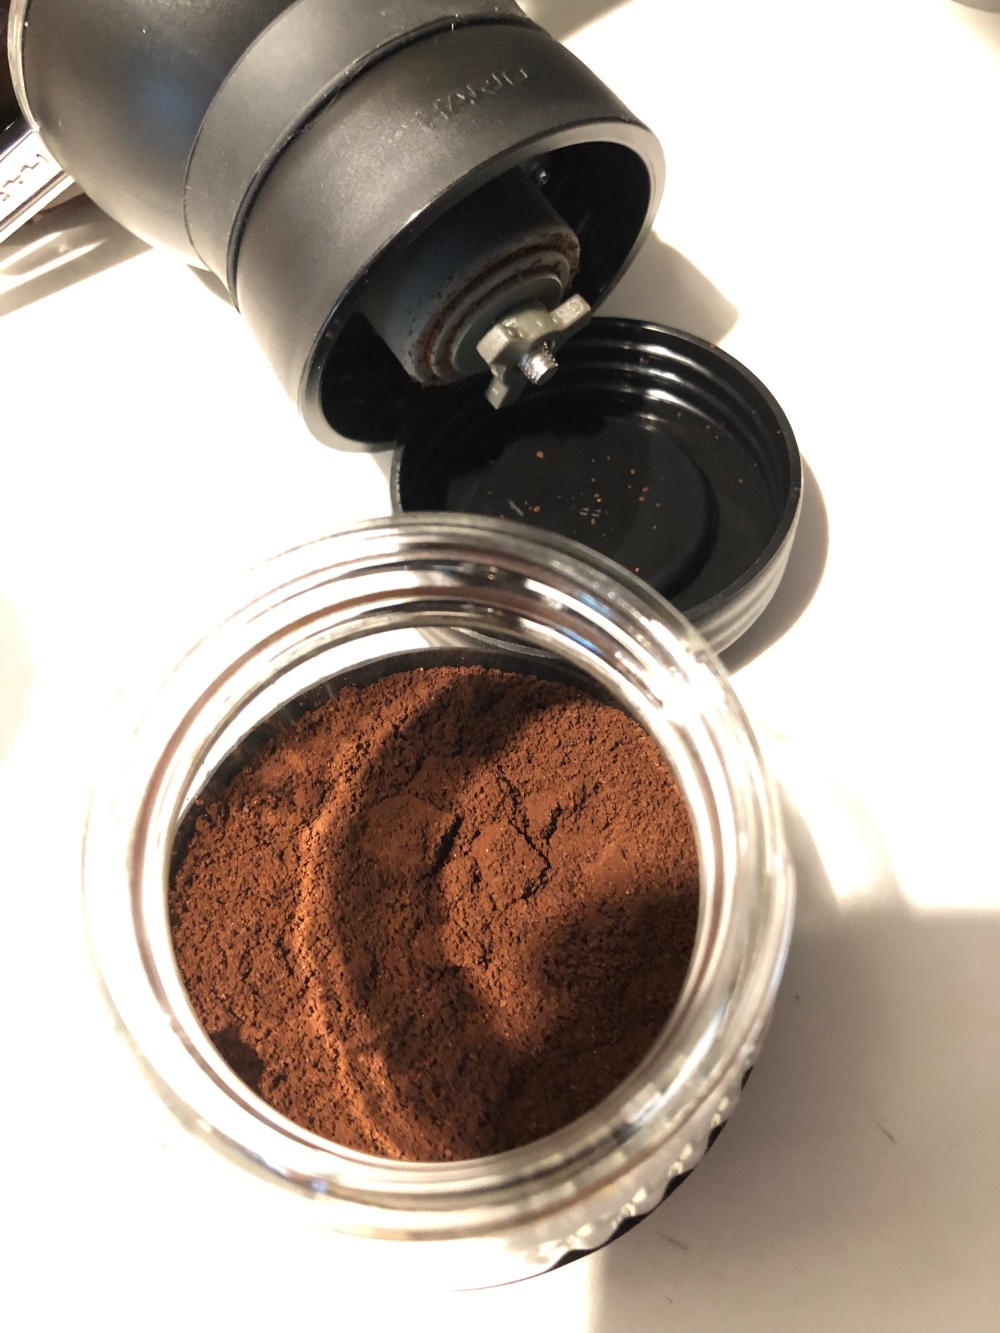
1/ We need a good burr grinder. I have a Hario Skerton Pro. You can use pre- ground coffee but it might not produce as much crema as freshly ground coffee. Remember to get the coffee ground for espresso, which is finer than pour over and coarser than Turkish coffee. Home ground.com has a good article about this.
https://www.homegrounds.co/why-is-freshly-ground-coffee-better/
Keep in mind, hand grinder will take more time and effort than electric one but it tends to last longer, cost less and the most important thing is it doesn’t have a motor which produces heat and changes your coffee ground flavor. Also, it helps burn some calories, strengthen your arms and writs, a help waking you up 😇

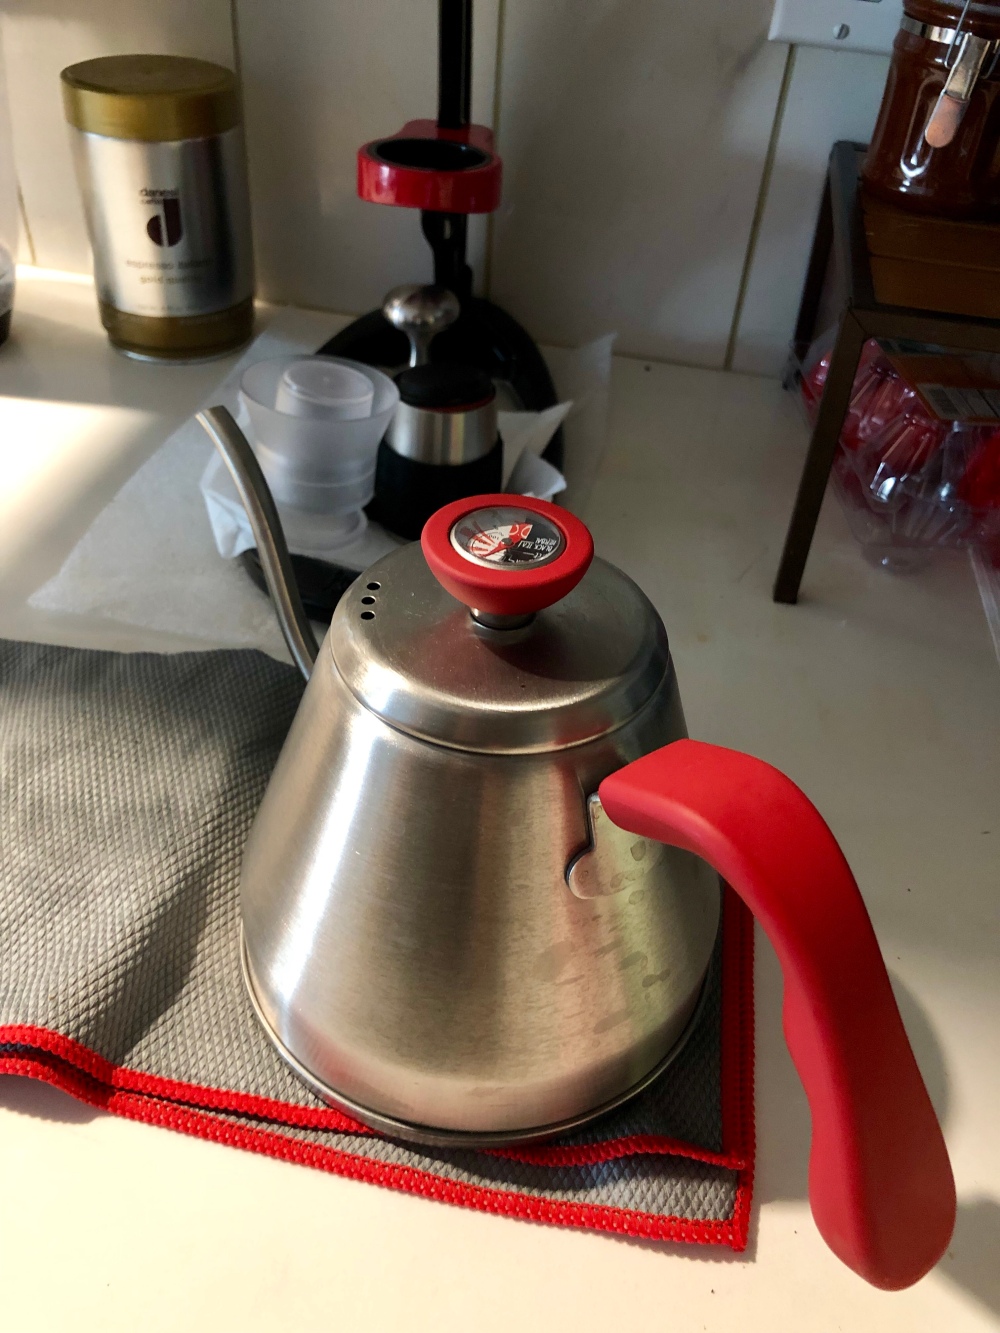
2/ A kettle to boil water. I’ve been using the gooseneck kettle with a build in thermometer. You don’t really need the thermometer but it is good for making tea and pour over coffee. The gooseneck help pouring hot water into the small container easily. The recommendation water temperature for brewing espresso coffee is around 196 degrees F to 200 degrees F. But using Flair espresso maker will lose the water temperature during the process so I boiled water over 200 degrees F to make it up. To keep it simple, if you don’t have a thermometer, just boil your water until you hear the boiling sound then off the heat.
Step 1:
Boiling water and grind coffee.
Step 2:
Preheat the cylinder and coffee basket.

Step 3:
Fill the portafilter basket with coffee following the manual instruction of the device.

Step 4:
Tamp the coffee down, nice and firm but not too hard. If you feel that it is hard to push down the Flair handle, it means that either your coffee is too fine or you tamp it too hard. Insert the shower screen into the portafilter basket

Step 5:
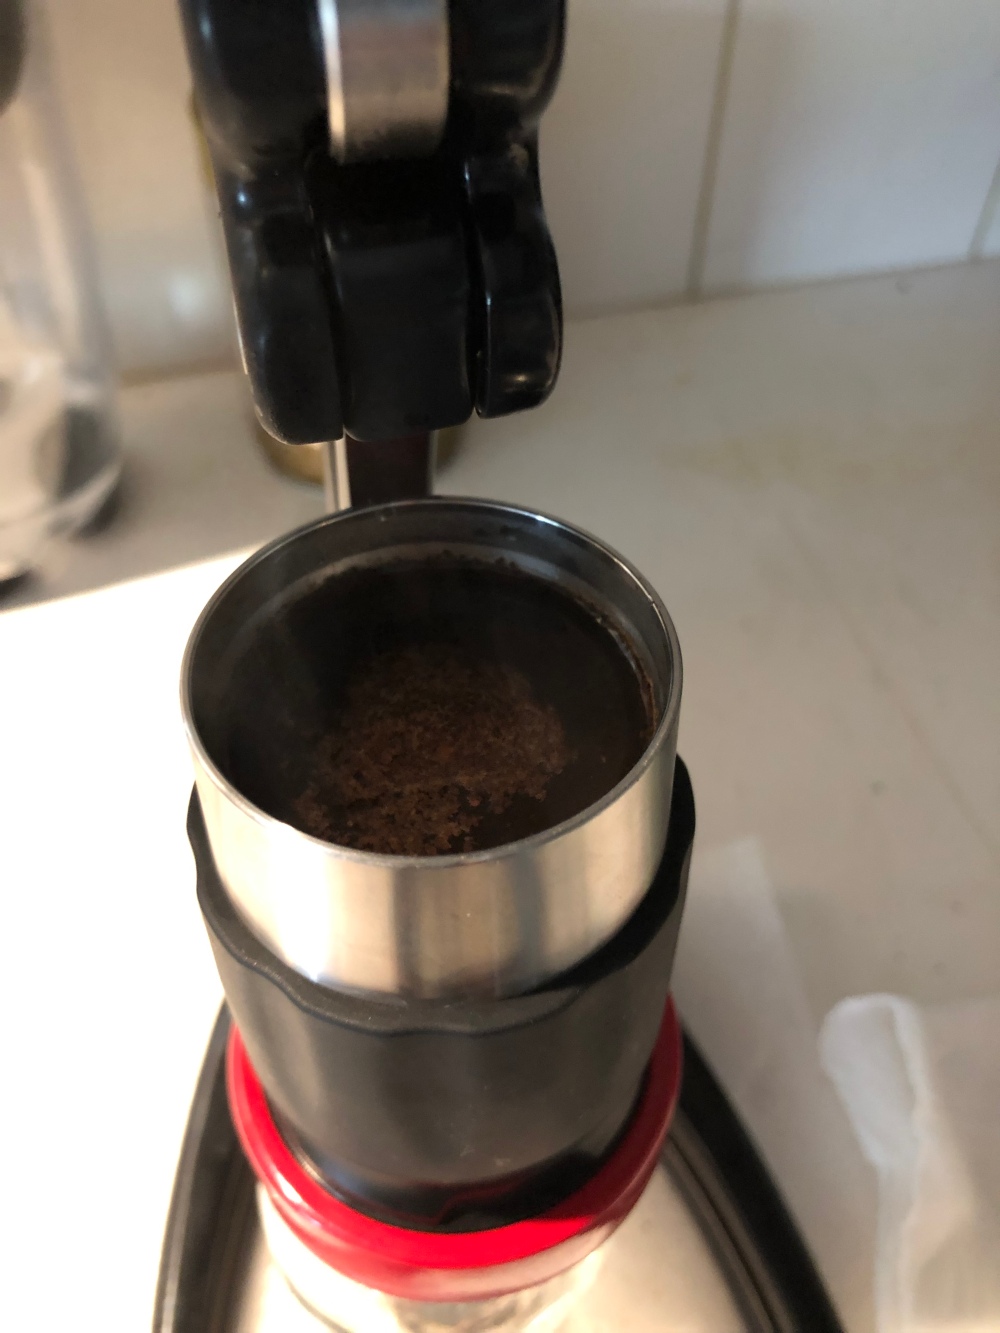
Discard reheating water and insert the cylinder into the coffee basket and pour in boiling water. (keep the water boiling while doing previous step)
Step 6:
Insert the piston and press down for 2 seconds until everything fit into its place.

Step 7:
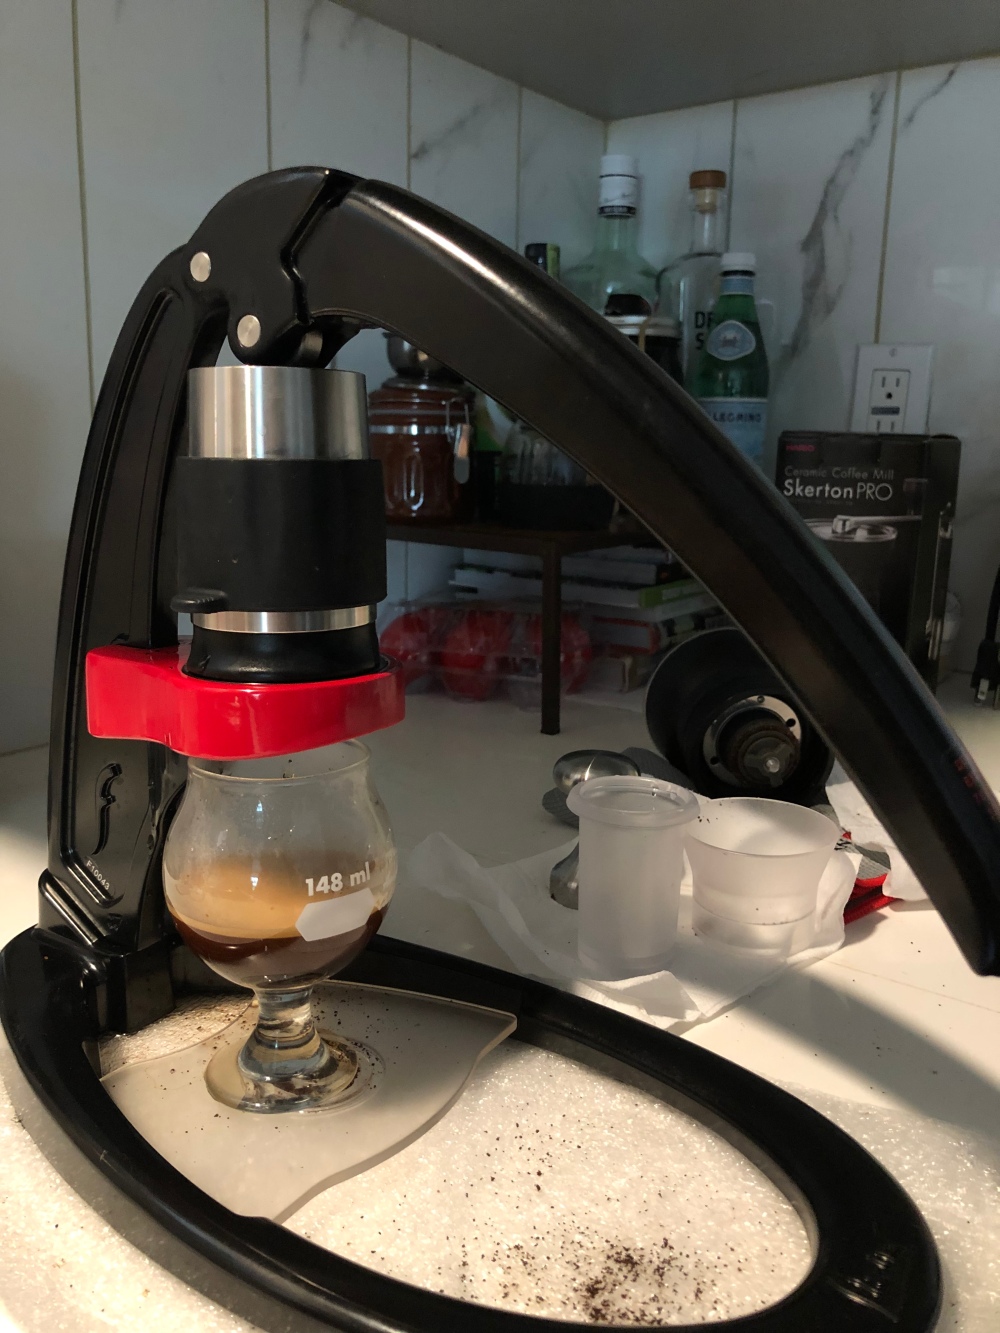
Continue to press the handle down until it reach the bottle of the cylinder and stop. Now enjoy your freshly press shot of espresso with some nice cream like what you got from the coffee shop 😁


Nice!! Your espresso looks so good!! I just got a similar setup with the Hario and Flair, but not getting quite the same amount of crema. What grind setting do you use on the Skerton Pro? And how many grams of coffee? Thanks!
LikeLike
Hi Cat, I used the third setting from the highest. Turning it all the way to the finest setting and turn it back three times. I tried the second from the max setting but it was too hard to press so I turned it back one more time.
LikeLike
Awesome, I’ve been hovering between 2nd and 3rd, thanks so much for sharing your experience!
LikeLike
I tried the second but I couldn’t pull the shot and I didn’t want to break the machine so I used the third now :-). Also you can try the 2nd but less dose. Like 13 gr instead of 16 gr. I learned it by using my La Pavoni.
LikeLike